如何修改语言
1,点选右上方设置
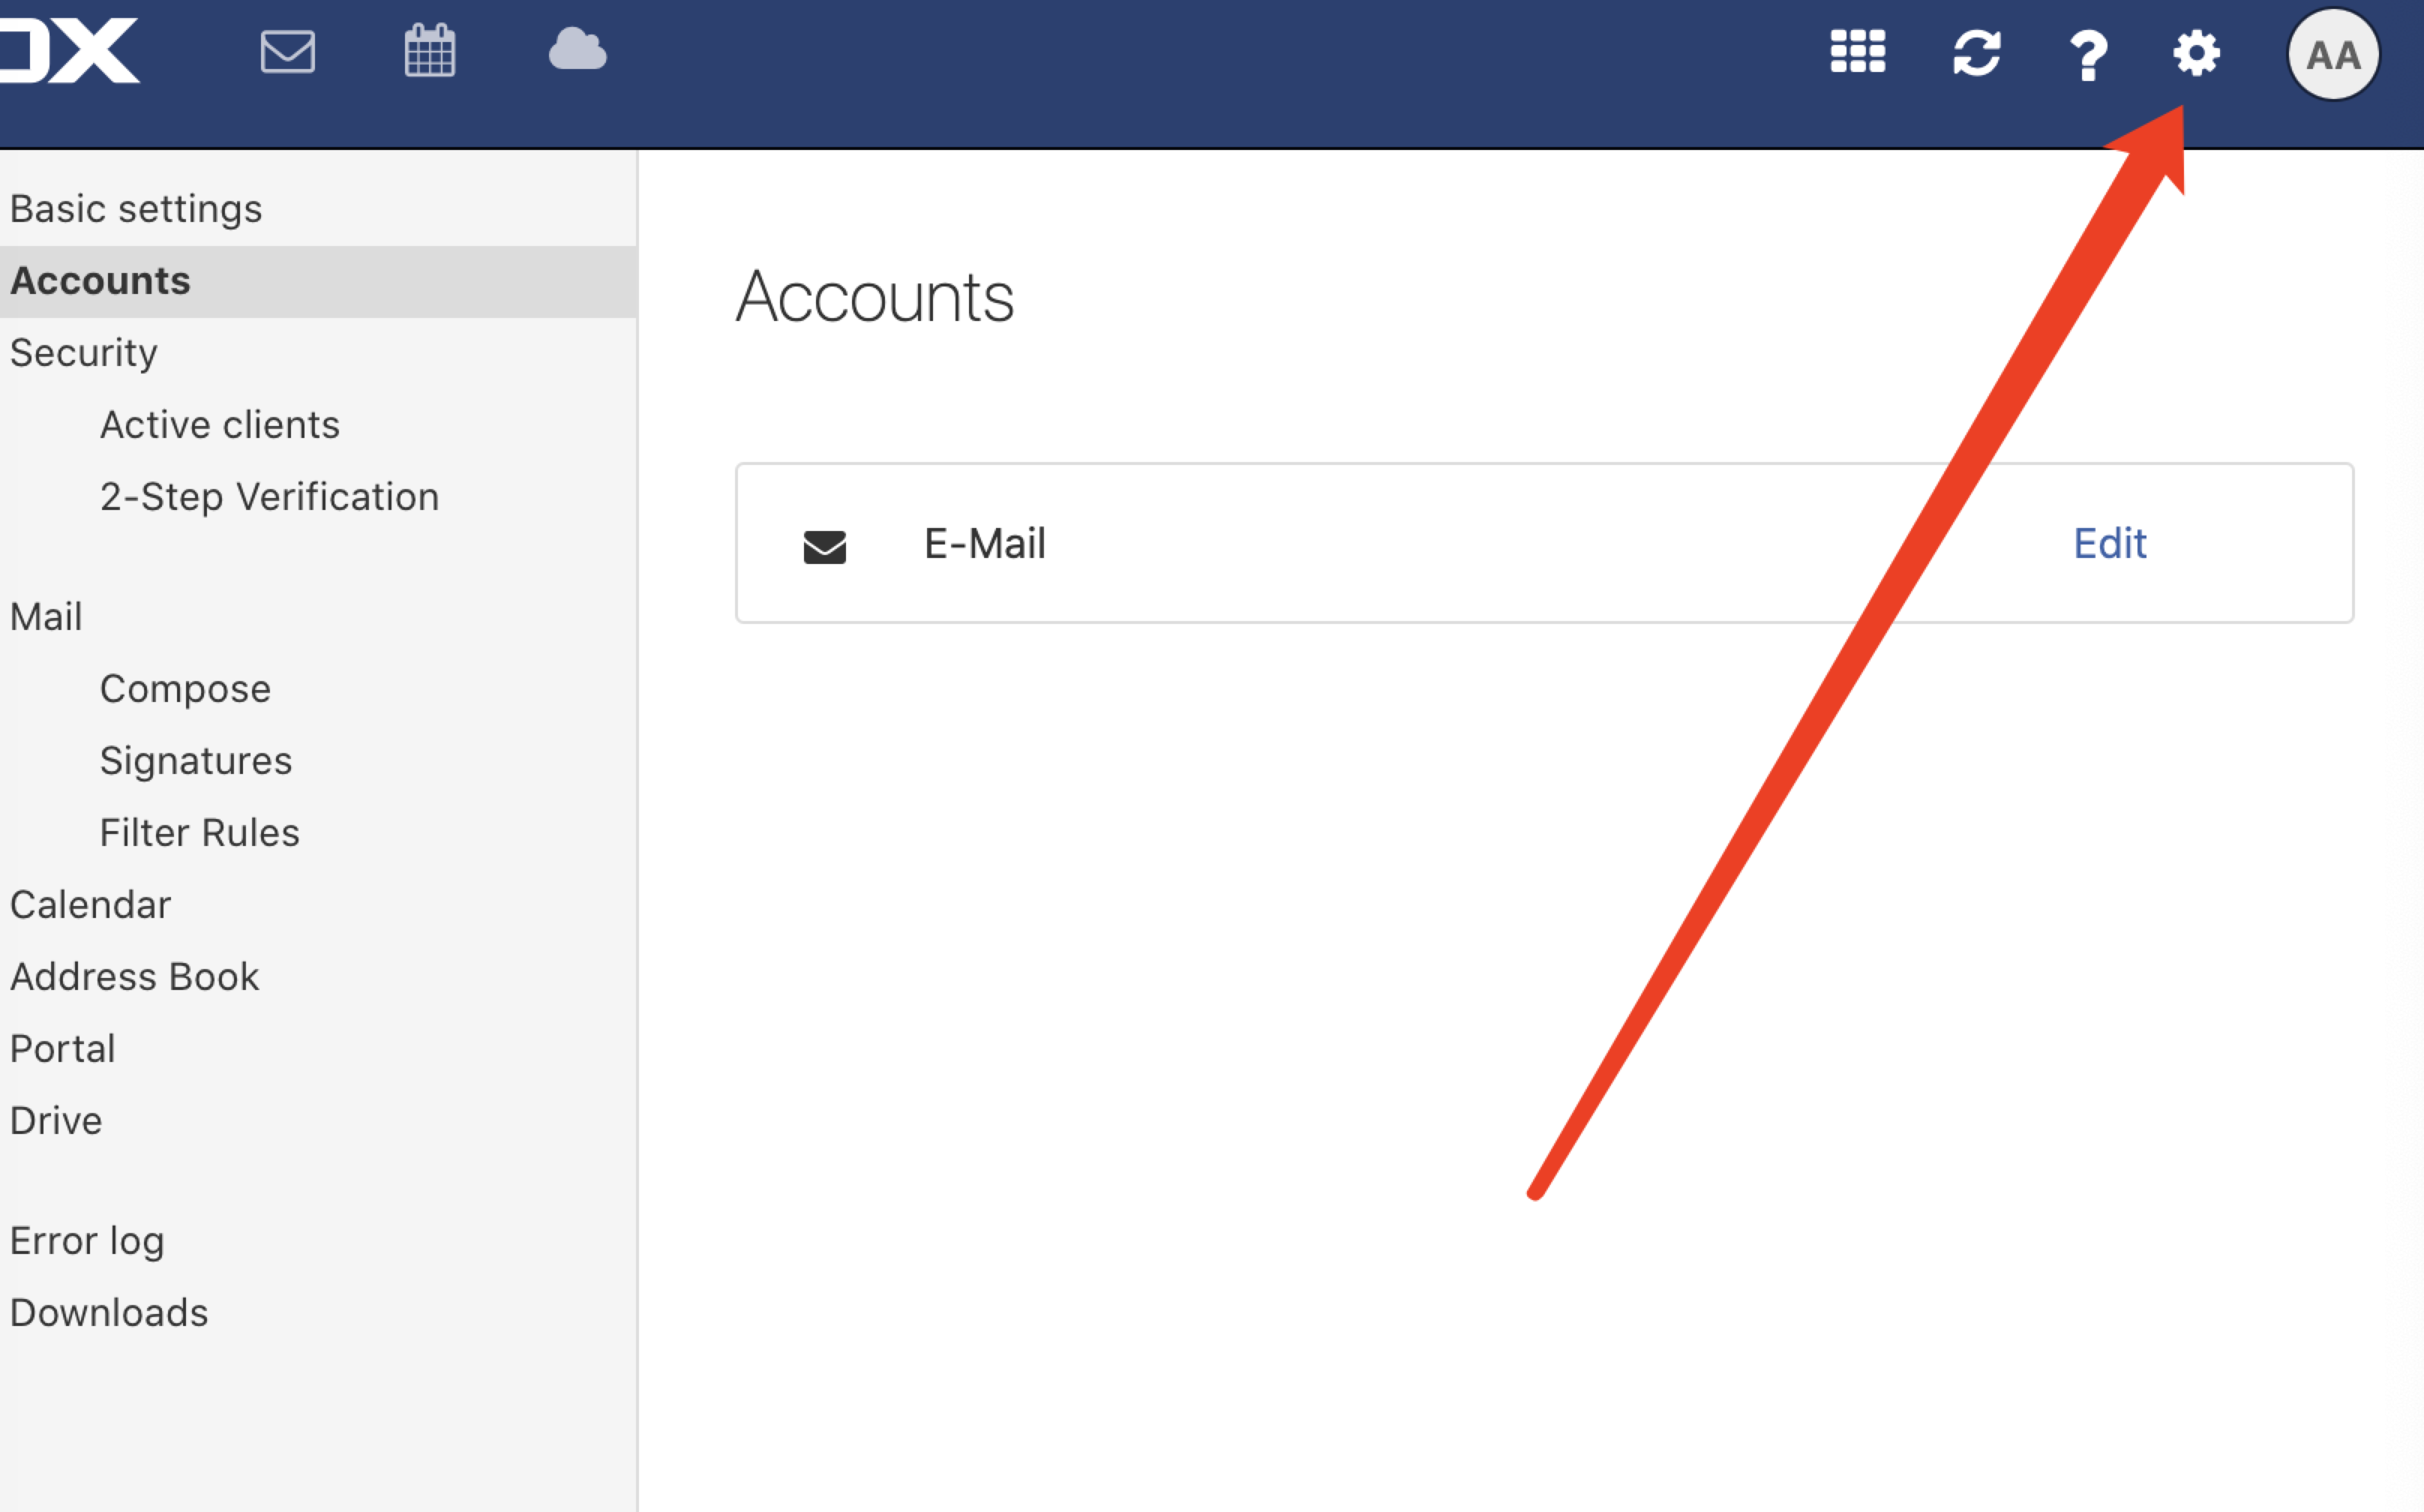
2,点选修改语言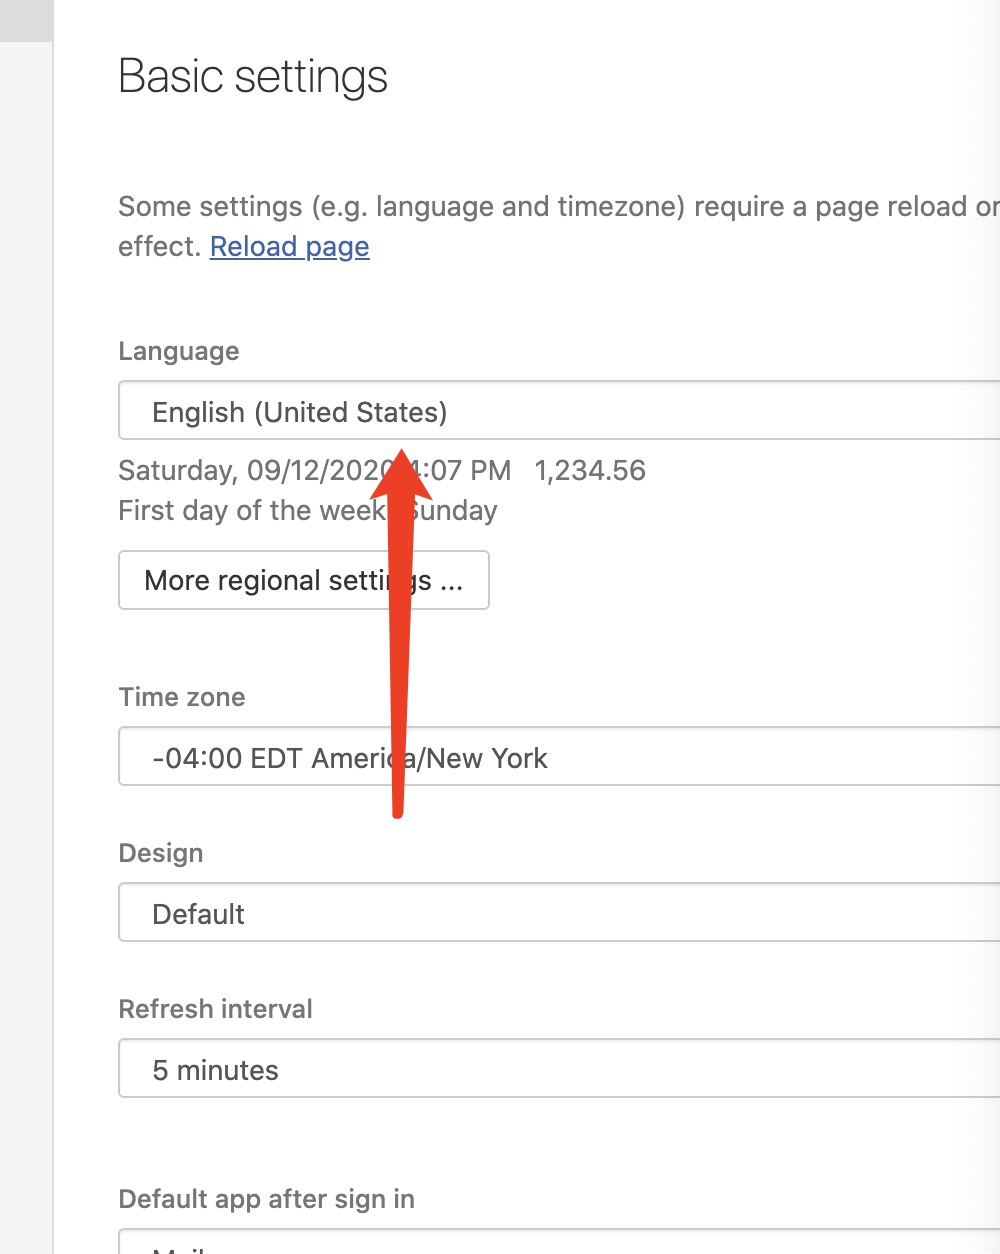
设置手机邮件
自动设置
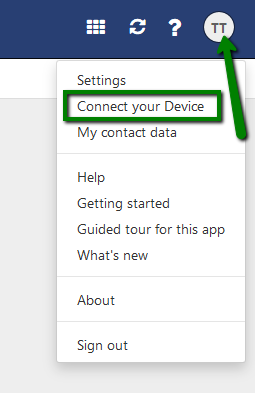
登录后点击右上按钮如下图:
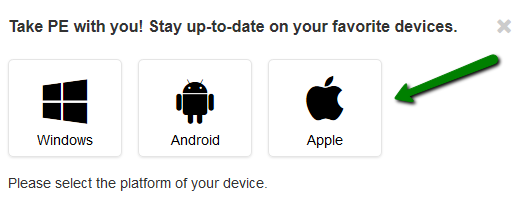
2. 选择设备系统
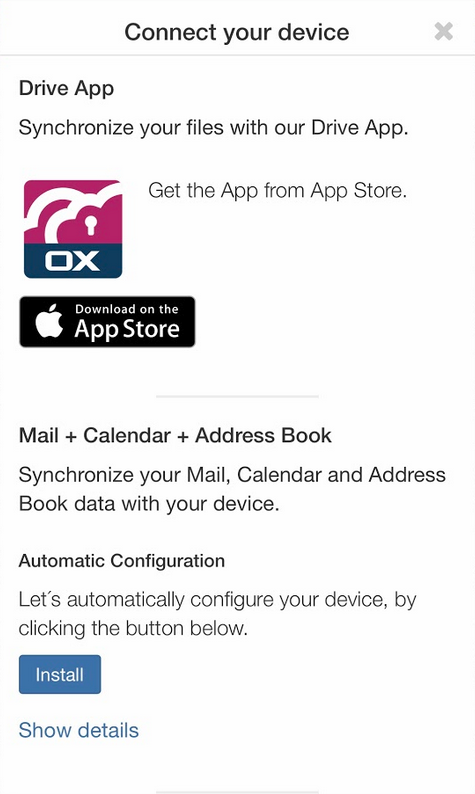
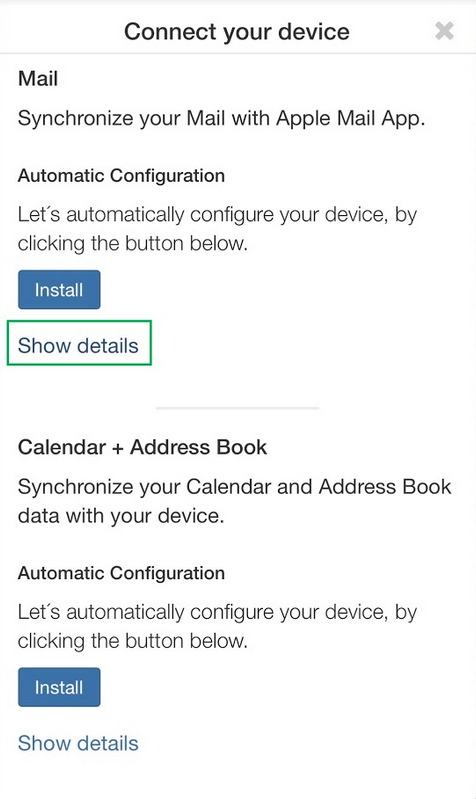
3. 接下来选择:
- Synchronize your files with our Drive application. The detailed instruction is located here. 同步文件
- Synchronize your Mail, Calendar and Address Book data with your device Automatically or check the Manual settings. 同步通讯录 电子邮件
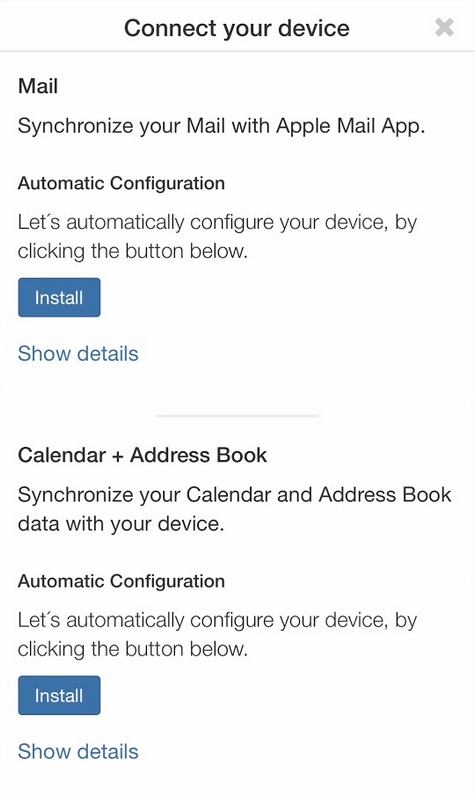
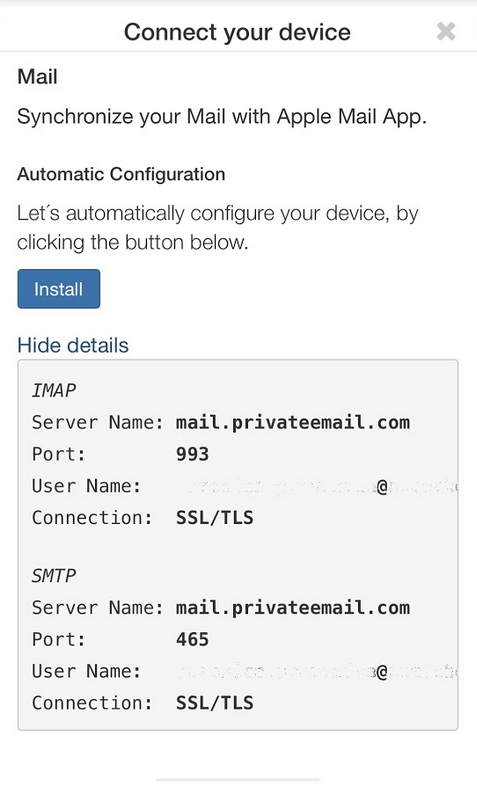
- Synchronize your Mail with Apple Mail App or check the settings for the Manual set up. 与苹果设备同步电子邮件
- Synchronize your Calendar and Address Book data Automatically or check the Manual settings. 同步通讯录与电子邮件 或查看设置
4. 点击安装
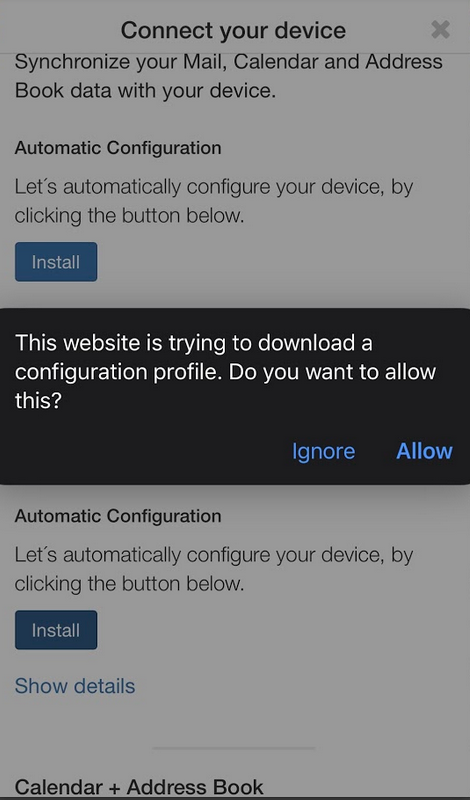
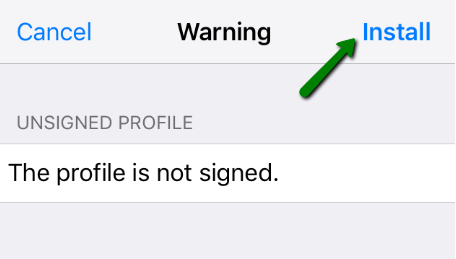
5. 点击 Install 安装
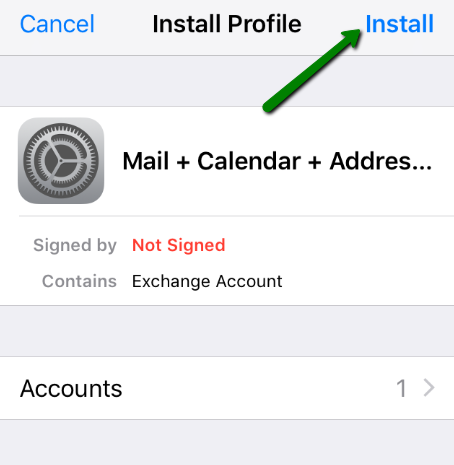
6. 出现提示后 再次点击安装
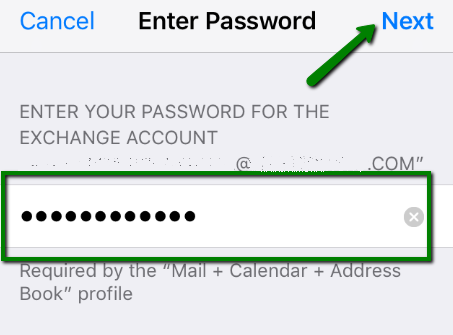
7. 现在输入密码
8. 点击 Done 结束安装
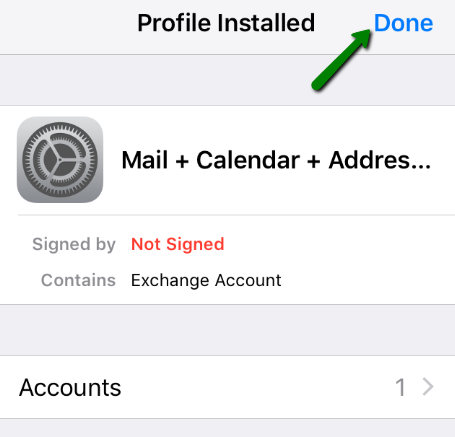
您也可以在苹果设备 Settings >> General >> Profile 里查阅设置
如果需要添加多个账户,第二个账户需要手动添加
手动添加
Manual setup
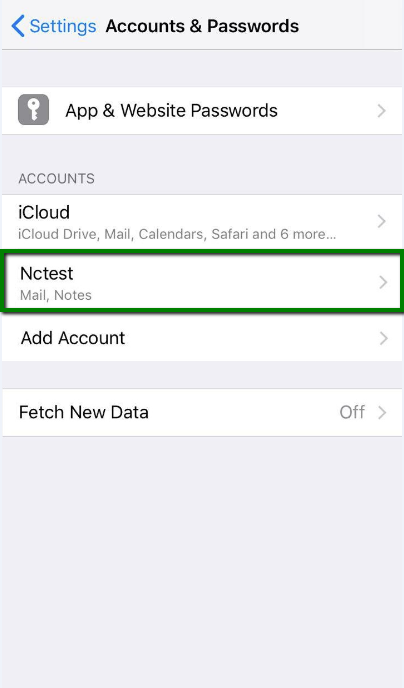
1. 首先打开设置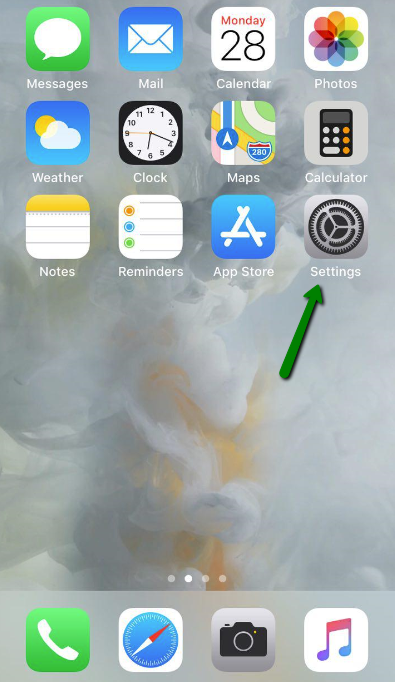
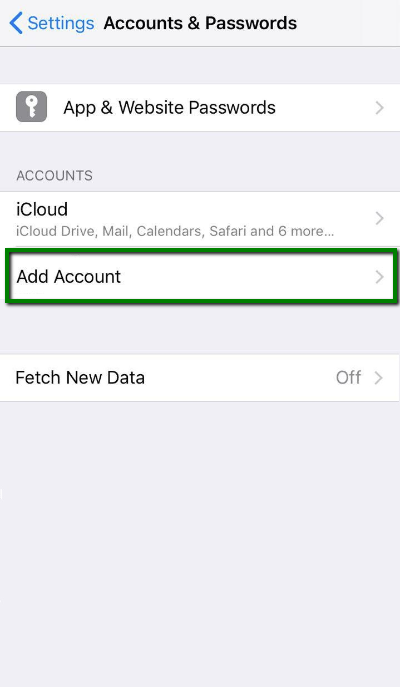
2. 选择 Accounts & Passwords 然后添加账户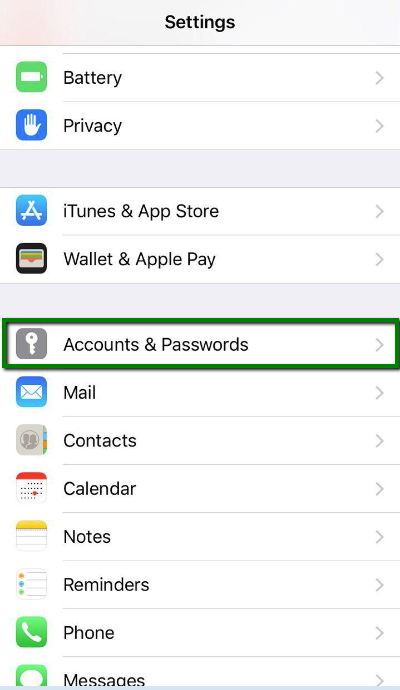
3. 选择 Other 其它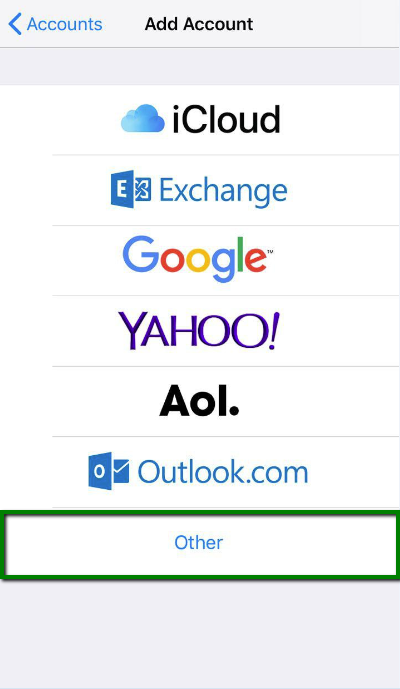
4. 输入信息
- Name - 名称/公司名称
- Email - Email地址
- Password - 密码
- Description -描述

点击 Next.
5. 选择: IMAP 或 POP3. 推荐IMAP.
6. 设置 IMAP 和 POP3 的参数想通:
- Name, Email and Description: 应该已经填写过了
- Host name: mail.privateemail.com
- User Name: 电子邮件地址
- Password: 密码

点击下一步 Next.
7. 如果选用 IMAP, 也可以开启下面的服务:
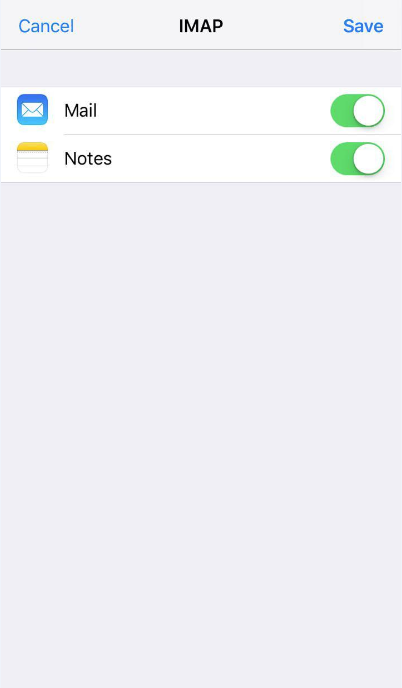
点击SAVE保存。
8. 检测完成后,会自动跳转到账户页面:
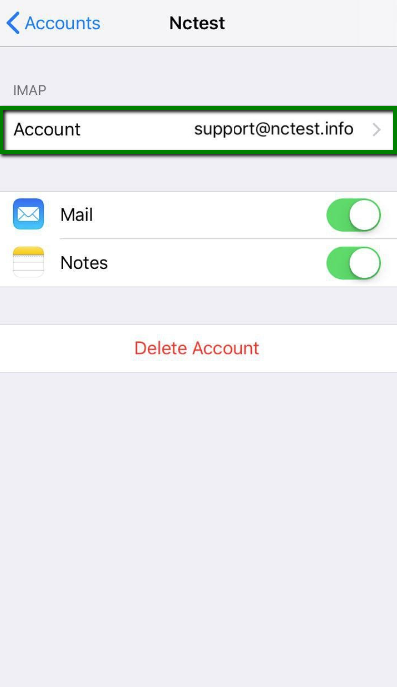
9. 找到 Advance 选项: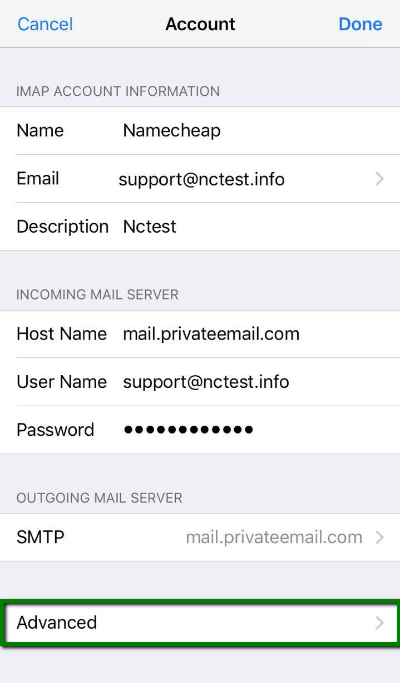
10. 在这里可以选择设置 IMAP 或 POP3. 如果设置 IMAP 链接, 使用端口 993 (with SSL) or 端口 143 (without SSL).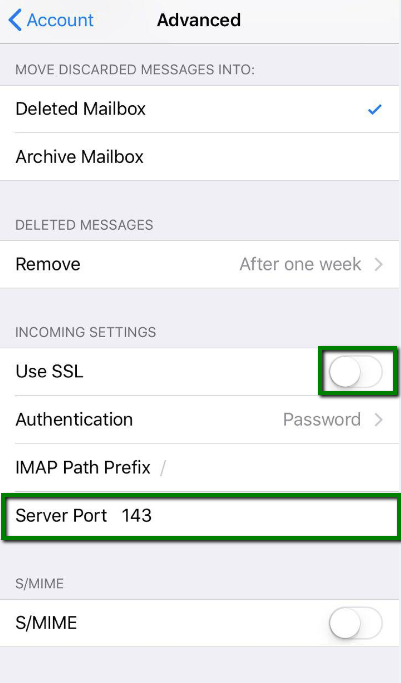
或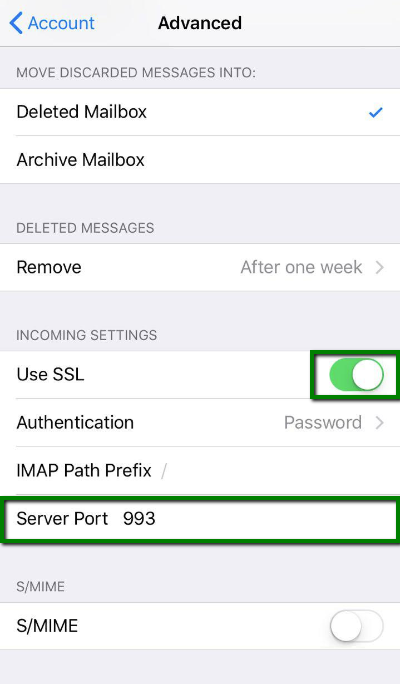
如果使用 POP3, 使用端口 995 (with SSL):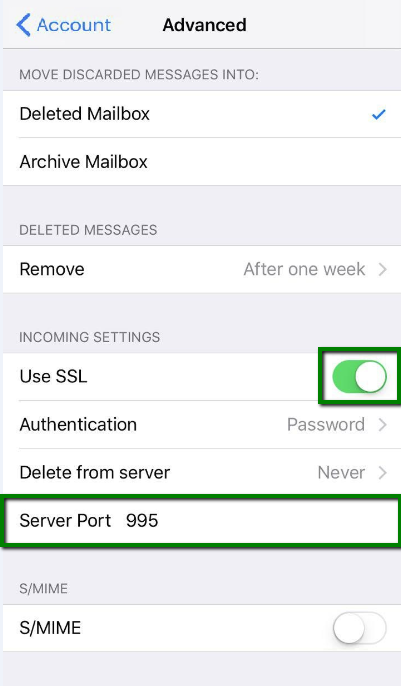
11. 如果需要单独配制发送服务器, 返回到上级目录找到发送服务器选择 Primary Server: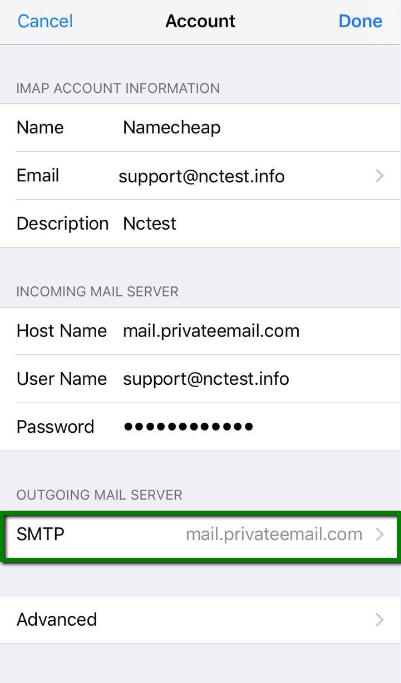

12. 发送服务器 (SMTP), 选择端口465 (with SSL) 或端口587 (without SSL):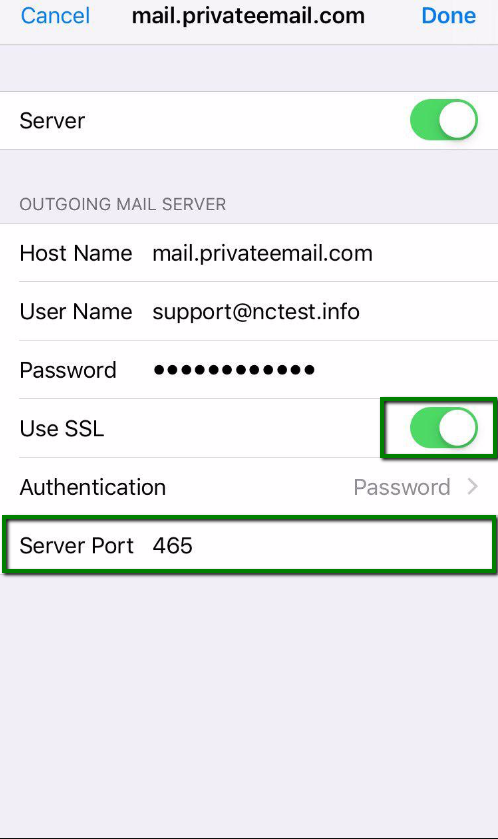
或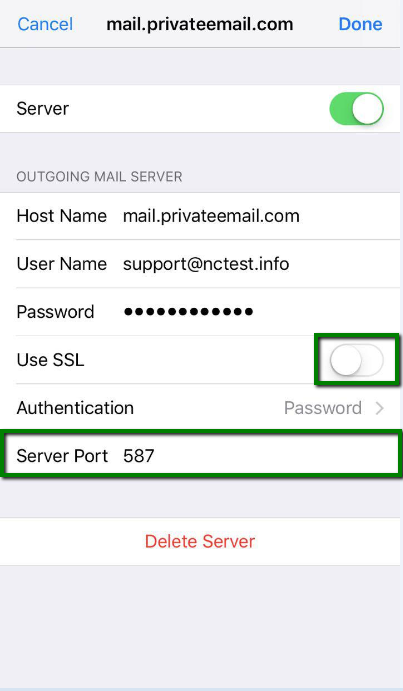
都设置完成后,即可在手机上使用Email啦。